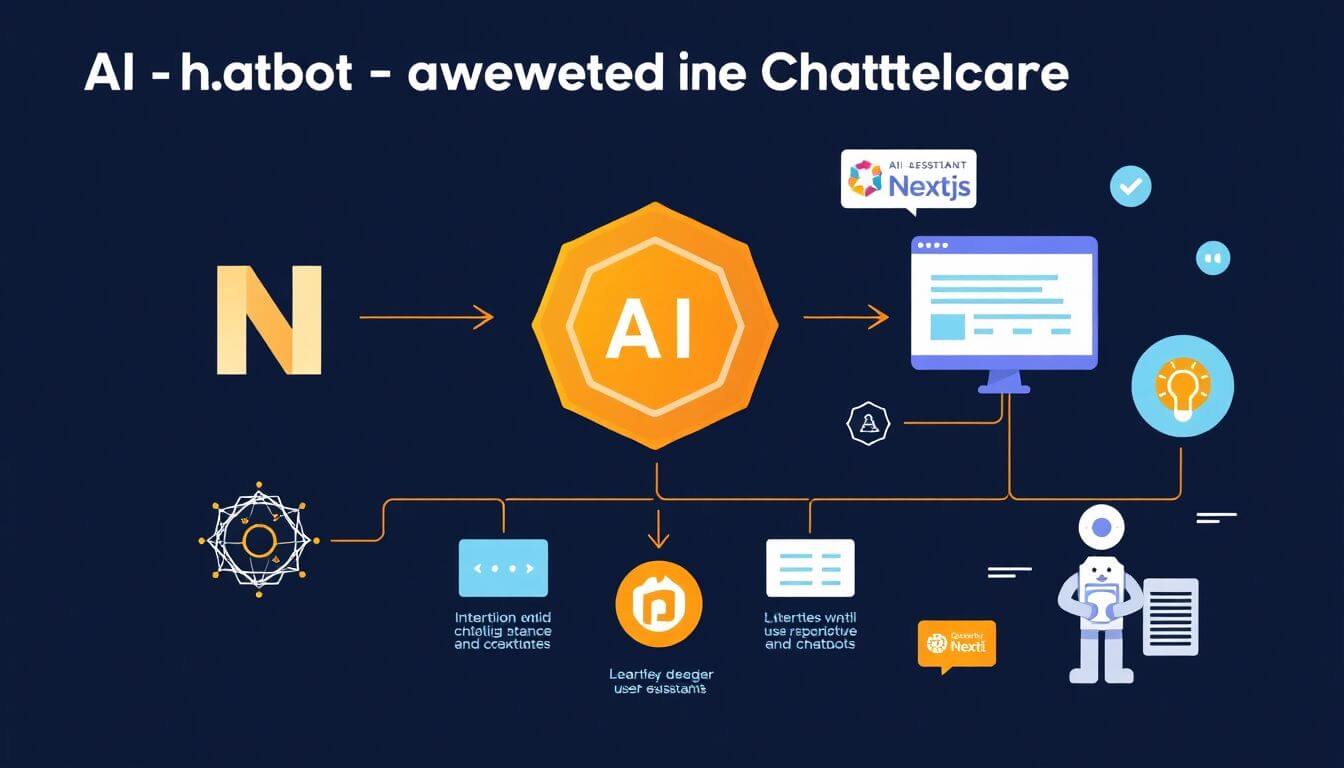
Building An Ai-powered Chatbot- A Program Geeks’ Guide To Next.js And Openai Api
const response = await fetch('https://api.openai.com/v1/chat/completions', {
  method: 'POST',
  headers: {
    'Authorization': `Bearer YOUR_API_KEY`,
    'Content-Type': 'application/json'
  },
  body: JSON.stringify({
    model: "gpt-4",
    messages: [{ role: "user", content: "Hello, what can you do?" }]
  })
});
const data = await response.json();
console.log(data.choices[0].message.content);
And just like that, you've started chatting with an AI! Imagine the possibilities when you integrate this with your Next.js application! Users can engage with your chatbot just like they would in a real conversation. 🎙️
3. Designing Chatbot UX Like a Pro
Now that we have our tech stack laid out, let’s get creative! Designing a user experience (UX) for your chatbot is like sculpting a masterpiece from a block of marble. You want it to be seamless, engaging, and intuitive.
Considerations for Chatbot UX:
-
Conversational Flow: Plan out how you want the chatbot to interact with users. Will it ask questions? Provide options? Be prepared for various user scenarios!
-
Clarity and Brevity: AI might be powerful, but users appreciate clear, concise messages. No need for technobabble—keep it friendly and to the point!
-
Visual Design: Aesthetics matter. Create a clean, visually appealing interface that encourages users to interact. Use color and typography wisely to guide users through conversations.
-
Feedback Mechanisms: Let users know their input is valued! A quick acknowledgment or follow-up question can go a long way in maintaining engagement.
In essence, a well-thought-out UX design ensures that users enjoy chatting with your AI, thereby increasing retention and satisfaction.
4. The Magic of GPT Integration
Here comes the fun part—integrating the OpenAI model into your Next.js app! This is where we sprinkle our magic dust 😊 and bring your chatbot to life.
Steps to Integrate GPT into Your Chatbot:
-
Setting Up State Management: Whether you’re using React’s built-in state or a library like Redux, managing chat state is key. Keep track of user messages and AI responses!
-
Handling User Input: Implement an input field where users can enter their text. This will trigger a function that sends the input to the OpenAI API.
-
Displaying Responses: Create a chat interface that renders both user messages and AI replies. Consider using styling libraries like Tailwind CSS or styled-components for a polished look.
-
Enhancing the Chat Experience: Add features such as typing indicators, quick replies, and buttons for predefined answers to make your chatbot more interactive and user-friendly.
5. Building and Launching Your Chatbot
With everything set up, it's time to build and launch your AI chatbot! Before you go live, ensure you’ve tested your application thoroughly. Here’s a quick checklist:
-
Performance Testing: Ensure your Next.js app runs smoothly and can handle multiple users simultaneously without lag.
-
User Testing: Gather feedback from friends or colleagues to identify areas for improvement. Iterate based on their input!
-
Deployment: Choose a hosting provider like Vercel (the creators of Next.js) or Netlify, which streamline the deployment process. A simple command can help you take your app live!
6. Wrap Up: Encouragement and Next Steps
Congratulations, you’ve made it through the whimsical world of AI chatbot creation! 🎉 You now have the skills to build a chatbot that can engage users with intelligent conversations. But the journey doesn't end here!
Next Steps:
-
Explore More APIs: Discover other AI models or APIs that can enhance your chatbot’s functionality, from language translation to sentiment analysis.
-
Learn Advanced Next.js Features: Delve deeper into features like Incremental Static Regeneration (ISR) and Dynamic Routing to make your app even more powerful.
-
Join the Community: Engage with other developers and chatbot enthusiasts. Sharing ideas and experiences can lead to fantastic new projects!
As you continue your adventure in AI development, remember: each step you take enhances your skills and brings you closer to being an AI wizard. Happy coding! 🌟
Certainly! Let's delve deeper into the content you provided, elaborating on each section and refining the structure for clarity and engagement.
const response = await fetch("https://api.openai.com/v1/chat/completions", {
    method: "POST",
    headers: {
        "Authorization": `Bearer YOUR_API_KEY`, // Replace with your actual API key
        "Content-Type": "application/json" // Indicates the type of content being sent
    },
    body: JSON.stringify({
        model: "gpt-4", // Specifies the language processing model to use
        messages: [{"role": "user", "content": "Hello, bot!"}] // Initial user message
    })
});
In the code snippet above, we utilize JavaScript's fetch API to make an asynchronous request to OpenAI's chat completion endpoint. This code is pivotal in creating an interactive chatbot. Here's a detailed breakdown of each component:
-
API Endpoint:
- The URL (
https://api.openai.com/v1/chat/completions) is the endpoint where you'll send requests to generate responses using OpenAI's models. In this case, we're targeting the chat completion feature.
- The URL (
-
HTTP Method:
- The method is set to
POST, meaning we’re sending data to the server. This is appropriate since we want the server (OpenAI) to process our user input and generate a response.
- The method is set to
-
Headers:
Authorization: This is where you include your unique Bearer token (API key). It authenticates your request, so make sure to keep it confidential!Content-Type: By setting this toapplication/json, you're informing the server that the payload you're sending is formatted as JSON.
-
Body:
- This is the meat of your request, containing the model you want to use (
gpt-4) and the messages array. The array starts with an initial message from the user, which kick-starts the conversation.
- This is the meat of your request, containing the model you want to use (
Your AI Buddy is Ready!
With this setup in place, your AI-powered chatbot is primed and prepared to engage with users. Once a request is made, the AI model will process the input and return a relevant response, effectively simulating a conversational experience.
3. Designing Chatbot User Experience (UX) Like a Pro
Never underestimate the power of a great user experience; it’s akin to having a cozy pillow on a long flight. If users find it challenging to engage with your chatbot, it'll feel more like a fancy robot in the corner rather than a helpful assistant.
Tips for Stellar Chatbot UX:
-
Clarity & Simplicity: A simple and intuitive conversation flow is essential. Users should be able to communicate easily without getting lost or confused. Clear prompts and streamlined dialogues can elevate the interaction.
-
Be Human-Like: Program your chatbot to respond in a friendly, conversational manner. The aim is to create a sense of connection and comfort, fostering a positive user interaction rather than hostility.
-
Visual Appeal: Invest in a visually engaging design. Opt for charming icons or avatars that embody your chatbot’s personality—think cute characters over generic technical symbols!
-
Quick Replies and Canned Responses: Implement buttons that offer users quick responses. By minimizing typing, you can enhance efficiency and engagement, making interactions smoother and more enjoyable.
When partnering with a web design company, like Prateeksha Web Design based in Mumbai, emphasize the significance of exceptional chatbot UX. Their proficiency in crafting user-friendly designs will ensure that your chatbot is not only functional but delightful to engage with!
4. The Magic of GPT Integration
Now, let's connect the dots—how do we seamlessly integrate GPT technology with our chatbot? Picture it as constructing a perfect sandwich; each layer must complement the others! 🍔
Step-by-Step Integration:
-
Capture User Input: Start by designing an input field in your chatbot interface where users can easily type in their queries. This is a crucial step as it sets the stage for interaction.
-
Make Your API Call: Upon receiving user input, trigger the API call to OpenAI using the structure we discussed earlier. You'll send the user’s question to the API and await its response.
- Example:
// When a user submits a query const userInput = document.getElementById('chatInput').value; // Get input from the user const response = await fetch("https://api.openai.com/v1/chat/completions", { method: "POST", headers: { "Authorization": `Bearer YOUR_API_KEY`, "Content-Type": "application/json" }, body: JSON.stringify({ model: "gpt-4", messages: [{"role": "user", "content": userInput}] }) }); const data = await response.json(); // Process the returned response console.log(data.choices[0].message.content); // Log the AI's response to the console -
Display the Response: Upon receiving the AI's response, make sure to update the chatbot UI to display it clearly and attractively. This creates a seamless flow of conversation.
By following these steps, you will harness the true potential of GPT integration, building a robust and user-friendly chatbot that can deliver engaging and meaningful interactions!
This refined content not only clarifies the concepts for readers but also emphasizes the importance of a well-designed chatbot in today’s digital landscape, encouraging effective integration with the OpenAI API.
Certainly! Below is an expanded, detailed, and refined version of your original content, offering clarity and enhancing engagement.
// Capture the user's input from a chat input field in the web application.
const userInput = document.getElementById("chat-input").value;

// Send a request to the OpenAI API to generate a chat response, utilizing the GPT-4 model.
const gptResponse = await fetch("https://api.openai.com/v1/chat/completions", {
     method: "POST", // Specify the method as POST
     headers: {
         "Content-Type": "application/json", // Set the content type to JSON
         "Authorization": `Bearer YOUR_API_KEY` // Include your OpenAI API key for authentication
     },
     body: JSON.stringify({
         model: "gpt-4", // Define the model type being utilized
         messages: [{"role": "user", "content": userInput}] // Construct the message object containing user input
     })
});
3. Display the Response:
Once your application receives the response from the OpenAI API, the next step is to effectively display the AI-generated content. Append the response to your chat interface seamlessly so users can appreciate the impressive capabilities of AI. Consider implementing a smooth animation or transition effect for an enhanced user experience, ensuring the response feels dynamic and engaging. Here is an example of how you might display the AI's reply:
const responseData = await gptResponse.json(); // Parse the response data from JSON format
const chatWindow = document.getElementById("chat-window"); // Target your chat window element
const aiMessage = document.createElement("div"); // Create a new element for AI message
aiMessage.className = "ai-message"; // Add appropriate CSS class for styling
aiMessage.textContent = responseData.choices[0].message.content; // Set the AI message content
chatWindow.appendChild(aiMessage); // Append the AI message to the chat window
4. Continuous Improvement:
Success is about evolution! Use insights from your chat logs to refine and enhance responses over time. Analyze user interactions, identify frequently asked questions, and continually improve the chatbot's performance. Consider employing machine learning techniques or user feedback systems to keep your responses sharp and relevant. Remember, every interaction is a learning opportunity—celebrate these insights, iterate proactively, and watch your chatbot transform!
5. Building and Launching Your Chatbot:
Congratulations, you’re almost there! It’s time to unveil your creation to the world. 🎉 Here are final considerations to ensure a successful deployment:
Deployment Steps:
-
Choose Your Hosting Platform: Selecting the right platform is crucial. Consider options like Vercel and Netlify, which are excellent for hosting Next.js applications. Think of it as choosing the perfect venue for a concert—pick one that resonates with your needs!
-
Ensure Compatibility: Run comprehensive compatibility checks to guarantee that all integrations work flawlessly. Aim for a seamless user experience where no customer feels lost or frustrated. Your chatbot should feel like a trustworthy companion guiding users through interactions.
-
Testing, Testing, 1-2-3: Test your chatbot rigorously. Invite a small group of friends or colleagues to interact with it, simulating a variety of scenarios. Gathering feedback will be invaluable for identifying any quirks or areas for improvement.
-
Launch with Style: Make a splash with your launch announcement! Engage with your community, share your journey, and possibly organize a virtual launch party to showcase your chatbot. Celebrate this milestone; it’s a testament to your hard work and dedication!
Wrap Up: Encouragement and Next Steps
You are now fully equipped to step into the exciting world of AI assistant development and build a cutting-edge AI-powered customer support chatbot using Next.js combined with OpenAI API integration!
Remember, the road ahead may have bumps; don’t be discouraged if things don’t go as planned. Think back to those early days learning to ride a bike. You might be a little wobbly at first, but with persistence, you'll soon cruise smoothly down the path, hands free and enjoying the ride!
As you continue on your journey, consider seeking help from experts like Prateeksha Web Design in Mumbai. Their skilled team can elevate your chatbot to new heights, proving that collaboration can spark truly incredible ideas!
Call to Action: Your Adventure Awaits! 🚀
Whether you’re an aspiring developer or a passionate entrepreneur, this is your moment to shine. Begin building, testing, and iterating on your chatbot today! Who knows? Your bot might just become the next sensation in ecommerce website design in Mumbai! Embrace this journey, and let your creativity flourish!
This refined content adds more detail, context, and encouragement while clarifying each step of the process involved in developing and launching a chatbot.
Tip:
Start Small and Scale: When building your AI-powered chatbot with Next.js and the OpenAI API, begin with a minimal viable product (MVP). Implement basic functionalities like greetings and simple questions. This allows you to test concepts, gather user feedback, and gradually introduce more complex features without overwhelming yourself or your users.
Fact:
OpenAI API Pricing and Usage Limits: The OpenAI API operates on a pay-as-you-go model, with different pricing tiers based on usage. Understanding these costs and setting up usage limits in your application is crucial to avoid unexpected charges, especially during the development phase or if your chatbot gets high traffic.
Warning:
Data Privacy Compliance: When designing your chatbot, be cautious about data privacy and user security. Ensure that you comply with relevant regulations, such as GDPR or CCPA, especially if you're collecting personal information. Implement measures such as anonymizing user data and clearly communicating your data handling policies to users to maintain trust and compliance.
About Prateeksha Web Design
Prateeksha Web Design specializes in creating AI-powered chatbots using Next.js and the OpenAI API. Their services include custom chatbot development tailored to client needs, seamless integration with existing systems, and user-friendly interfaces. The team offers comprehensive guidance through the implementation process, ensuring optimal performance and reliability. Expert support and training are provided to empower clients in managing their chatbots effectively. Prateeksha combines cutting-edge technology with innovative design to elevate user engagement.
Interested in learning more? Contact us today.